OpenVPN provide a free client for Windows, you can download it here.
Download the appropriate Windows version from the list.
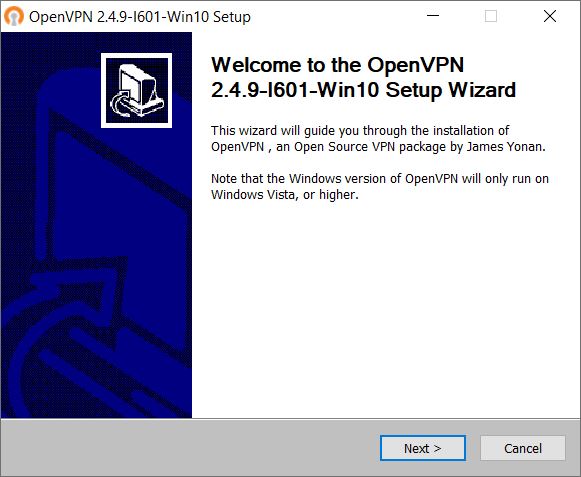
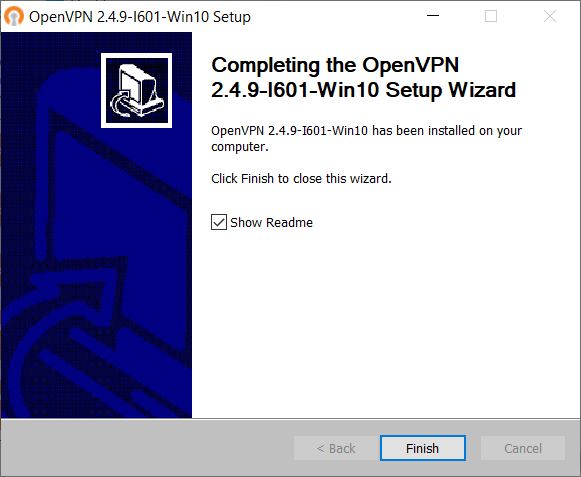
When the installer launches you will see something similar to the following.
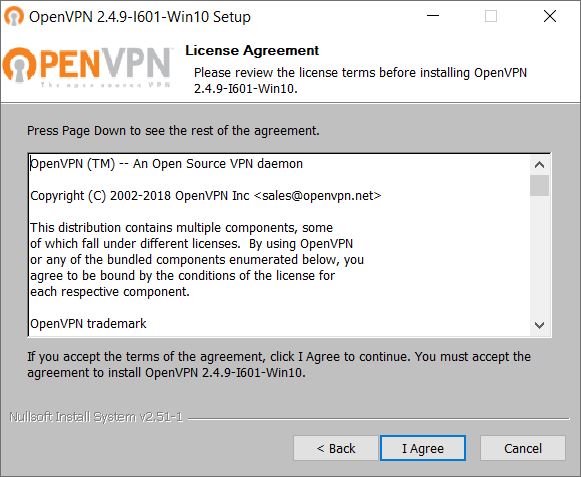
Click ‘Next’ and accept the agreement if you are happy to do so.
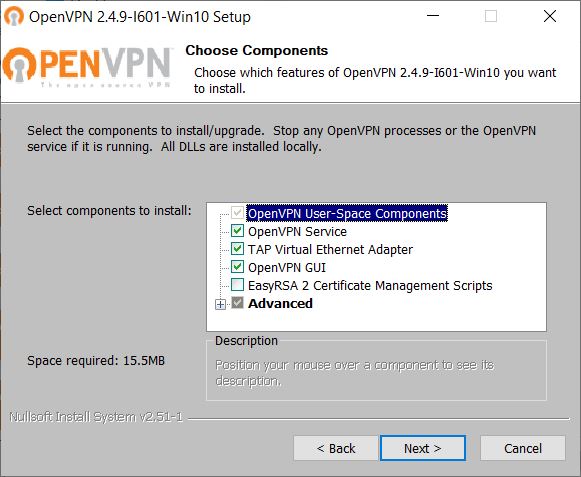
The default options are required, you do not require the EasyRSA 2 Certificate Manager.
Once you click Finish you’re done with the client installation, next you’ll need to install your client configuration file to allow you to connect to your VPN server.
Start OpenVPN
You will need to start your OpenVPN client with administrator privileges. To do this, navigate to the OpenVPN link from the Windows navigation menu.
Hold your shift key and right click on the OpenVPN application, within here you will see an option to ‘Run as Administrator’.
Import Client Configuration
Now OpenVPN is started you should import your client configuration file.
If you are using the Imagicloud managed OpenVPN service you will receive this file via email and you will find a zip file attached containing three files, double click the file with the .ovpn extension and OpenVPN will ask if you would like to import the configuration.