It is likely you will need MFA configured before being allowed to switch roles in to other accounts.
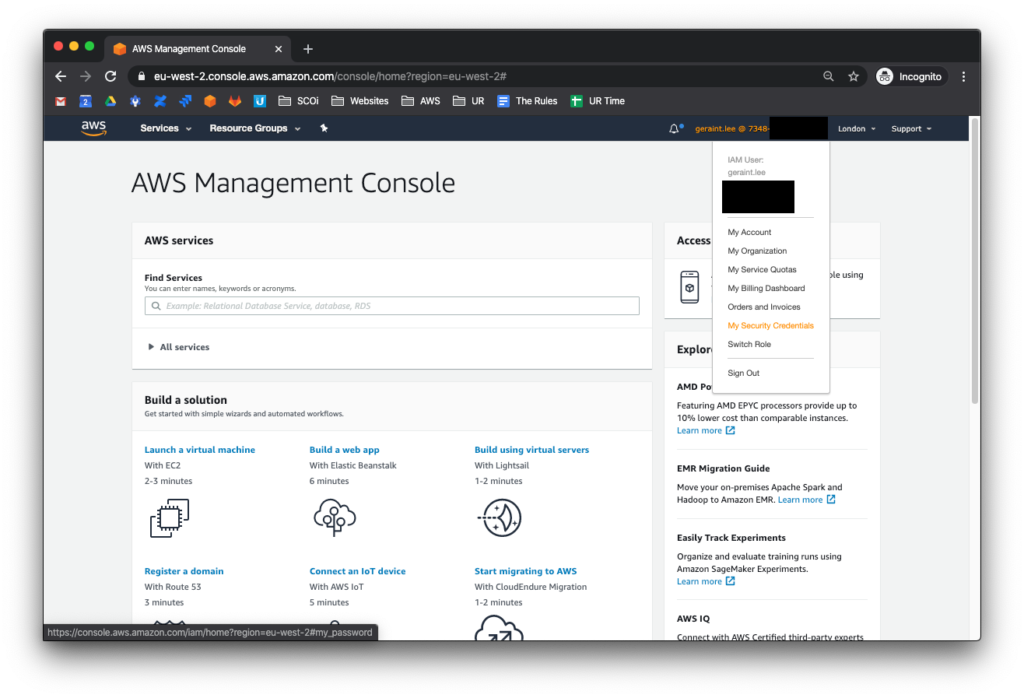
To configure your MFA device you will first need to login. Once you have logged in you will need to head to your security credentials, as you will have done to change your password.
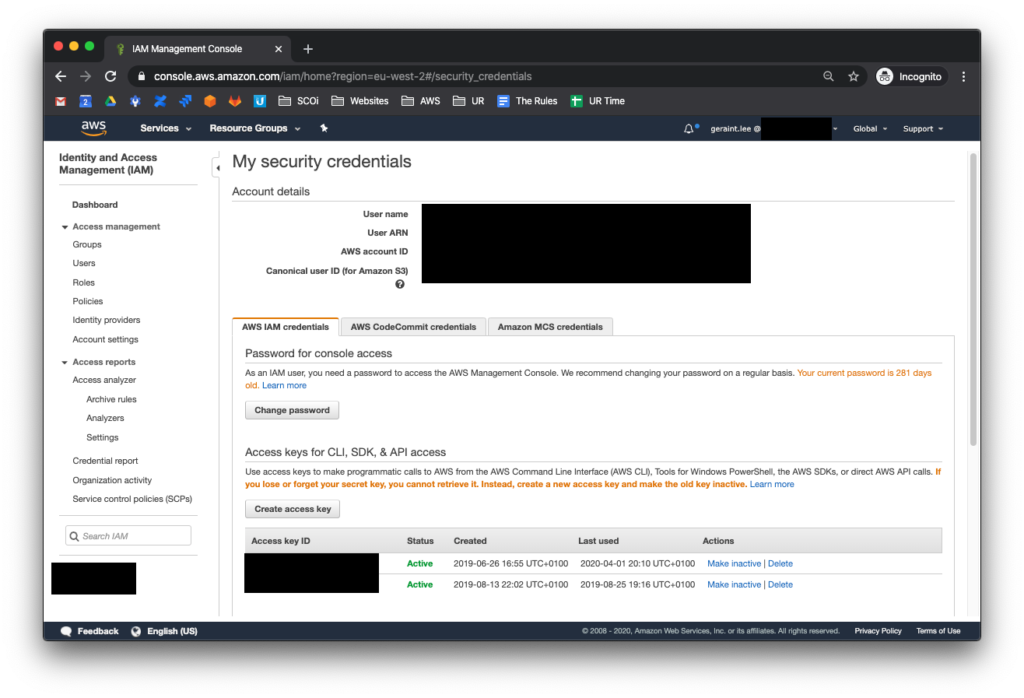
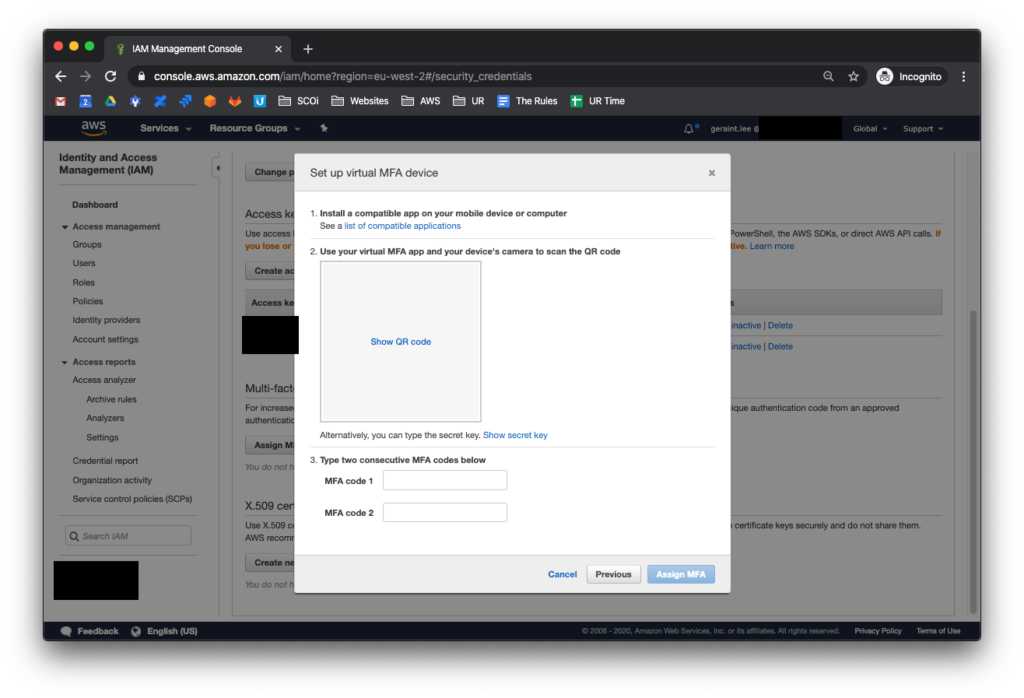
Once you’ve clicked the button you should see something like…
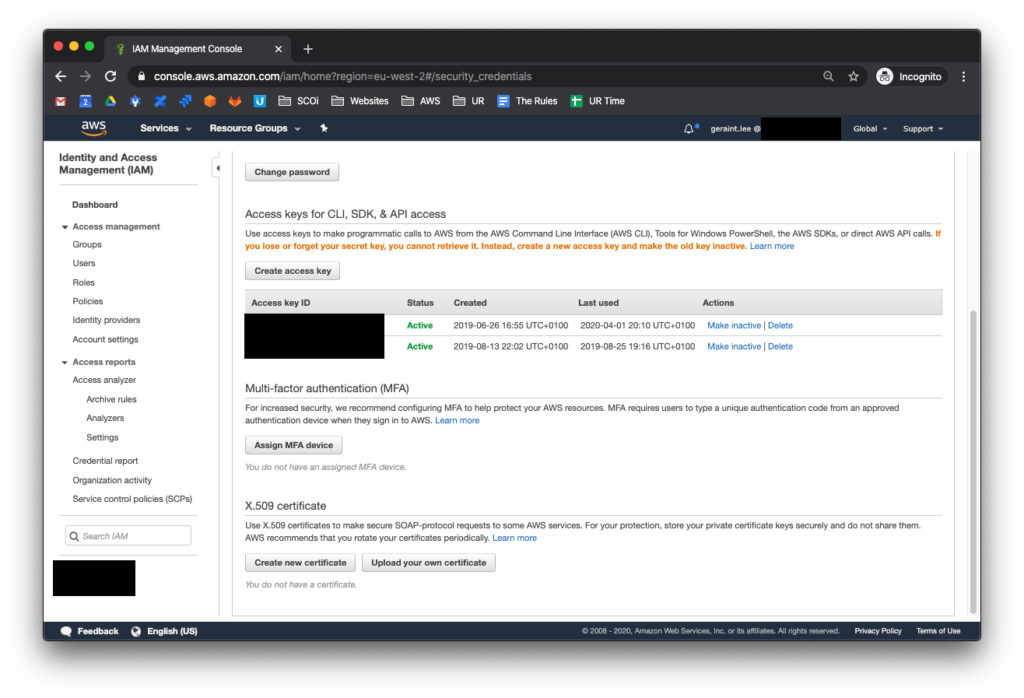
Scroll down this page until you reach the “Multi-factor authentication (MFA)” section which is below the “Access keys for CLI, SDK & API Access” section.
Click “Assign MFA Device”.
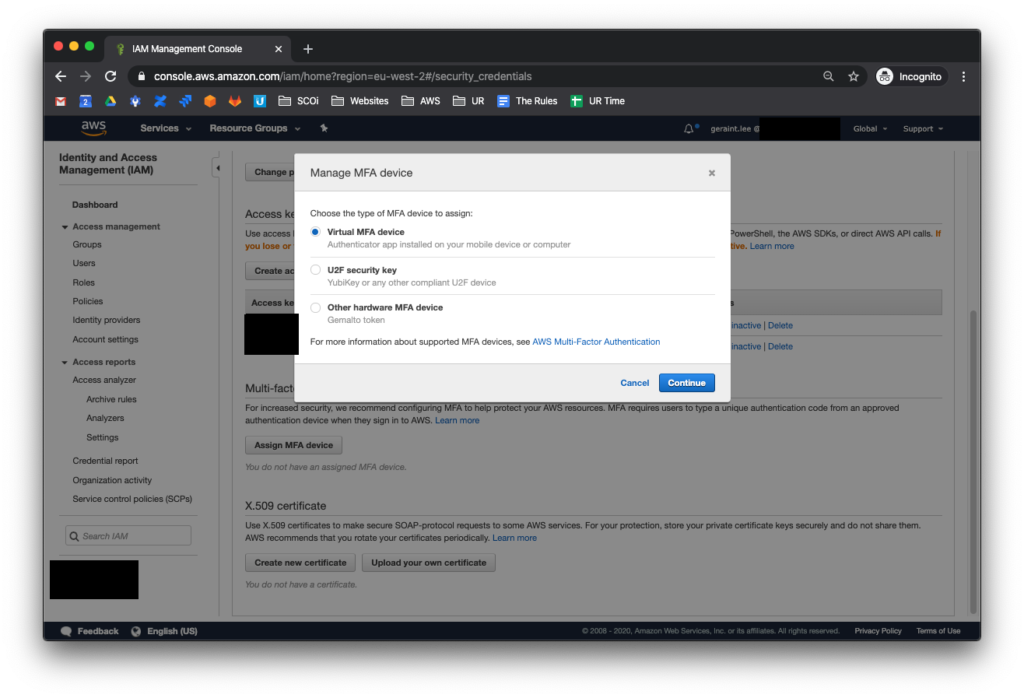
Select Virtual MFA device and open Google Authenticator on your mobile device, or you can use one of the other compatible applications.
Next, click the + button in the top right corner of theGoogle Authenticator app on your phone, and then select ‘Scan Barcode’.
On the AWS console, click ‘Show QR Code’.
Now you should use your phone to take a picture of the QR code displayed on the AWS Console.
You will see a new entry in the Google Authenticator app showing ‘Amazon Web Services’ and your account number and username below.
You will need to enter two six digit codes, they rotate so you will need to wait for a new one once you have entered the first.
Once both codes have been entered on the AWS console, you should click ‘Assign MFA’.
Your MFA device is now set up, you will need to log out and back in for the changes to take effect.